Event Token Purchase & Creation
With your organizer account ready, the next step is securing an Event Token — your key to listing and launching events on ECTickets. Tokens ensure dedicated resources for each event while keeping things fair and scalable. Once obtained, you’ll create the event draft in your Team Management Dashboard.
This page covers purchasing/requesting a token and filling out the creation form. Expect 5-10 minutes for the whole process.
Tokens are tied to your team — purchase once per event. Subscriptions unlock unlimited grants; see Pricing for plans.
Step 1: Purchase or Request an Event Token
Tokens cost HK$500 each (one-time, non-refundable) and grant access to full event features. Subscription users can request free allocations.
How to Get a Token
Via Purchase (Standard Users)
- Log in to your Team Management Dashboard .
- Navigate to Team Settings in the side menu.
- Click “Purchase Token” and confirm payment.
- Token appears in your inventory instantly, you may request a receipt by sending an email to info@ectickets.com.
Via Subscription Request (Subscription Users)
- In the same Team Settings section, click “Request Grant”.
- Fill the quick form: Event details (name, date).
- Once granted, it auto-adds to your inventory.
Check Inventory
- View available tokens under Team Settings.
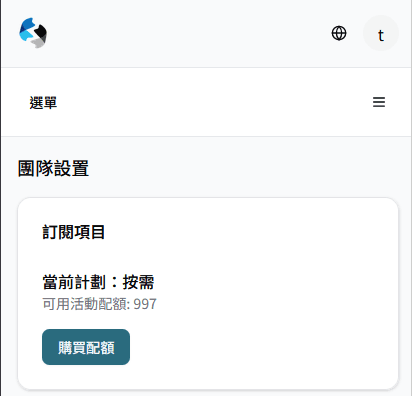
Screenshot: Tokens section with “Purchase” button.
Step 2: Create Your Event Draft
With a token in hand, draft your event — entering the 活動創建 (Event Creation) state.
How to Create
Start Creation
- From Team Dashboard > Event Management tab, click “Create Event”.
- A token is deducted automatically after event creation.
Fill the Basic Form
Enter the essentials in Chinese (required fields marked *):
-
Basic Information
- Event Name*: Short, catchy title (e.g., “ECShow 2025”).
- Event Descriptions: Detailed summary for attendees to understand the event.
- Organizer Name*: The organizer’s official name.
- Performance Group Name: If applicable, the name of the performing group.
- Venue*: Location of the event.
- Age Limit*: Specify if age-restricted (e.g., Person below 18 not allowed).
-
Event Sessions
- Event Sessions Date & Time*: Set start dates and times for one or multiple sessions.
-
Ticket Types
- Ticket Types*: Add ticket pricing tiers — Economy, Premium, VIP, etc.
- Set prices (HKD).
- Discount types are automatically generated, you may customize later in Event Setup.
- Ticket Types*: Add ticket pricing tiers — Economy, Premium, VIP, etc.
Preview & Submit
- Review for errors, then “Submit” — advances to 活動設置 (Event Setup) state.
There are more information required beyond the basic form, which you can fill out later in Event Setup. Focus on essentials now to get started quickly.
What Happens Next?
Your event is now drafted! Proceed to Event Management to configure details and advance states. Track progress in the Event Management Dashboard.